


Design Tab Tour
Within Design, you’ll create and customize your survey project to ensure it meets your research needs and your brand demands. When you create a new project, you’ll be taken directly to Design. For existing projects, click All Projects, then find the right title, hover, and click on the Edit icon to dive into Design.
Navigate to
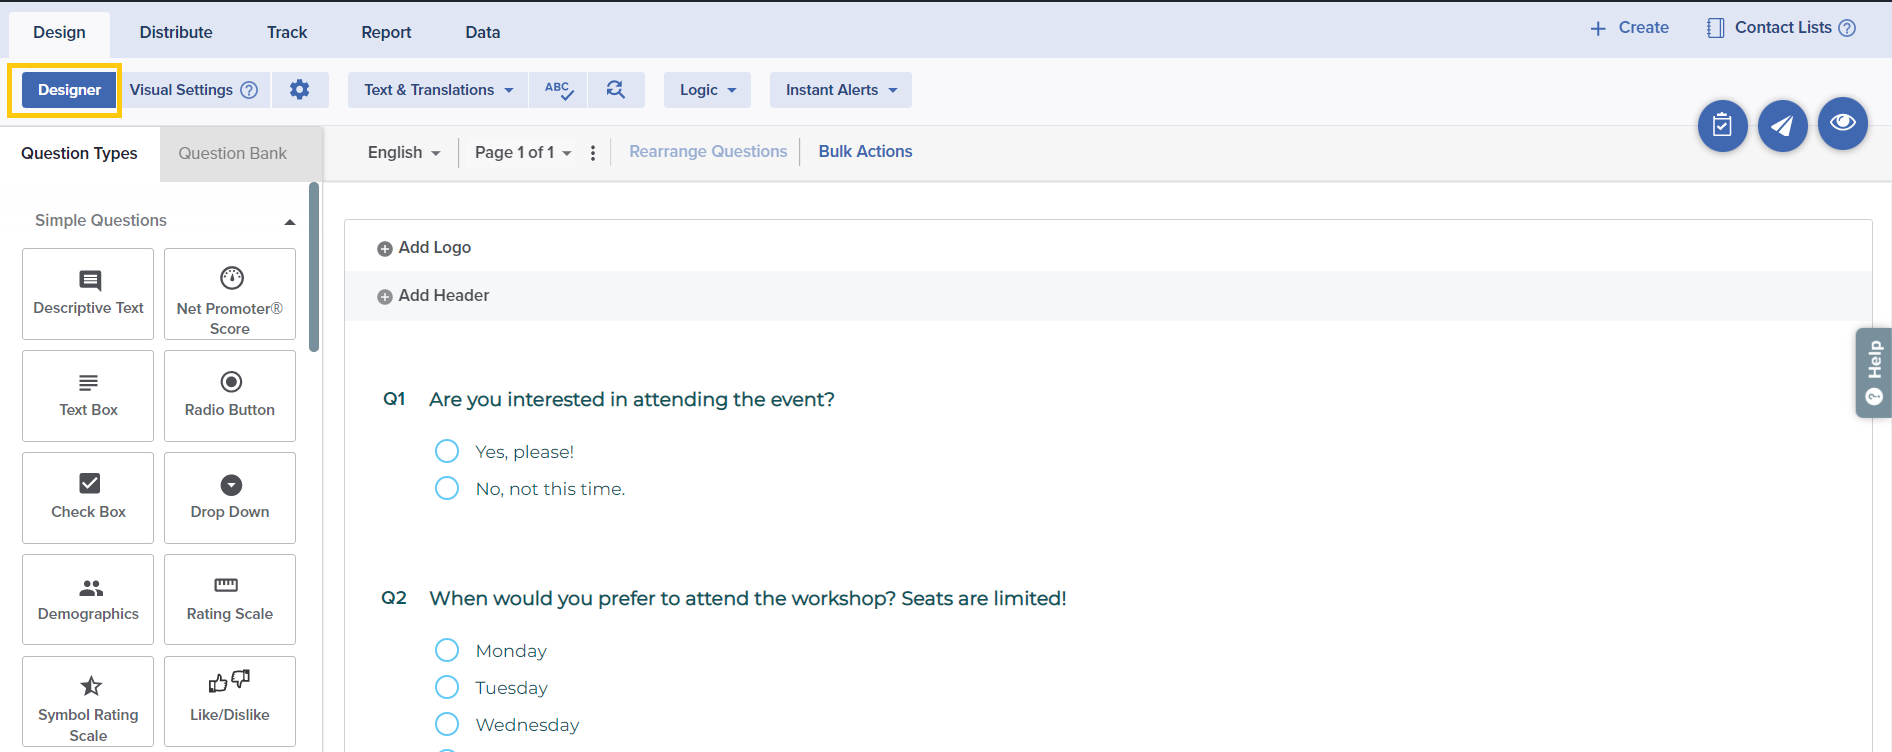
Designer
Here you can create your survey project either from scratch or by utilizing a template. You can add relevant questions, and answer choices, rearrange the questions, apply logic, choose visual settings, add brand logo and perform other actions to design an ideal project.
Options include:
- Question Types: On the left side of the screen, you’ll see a palette of question types. Hover over each option for a quick look at the question type to be sure you’re looking at the right format. Then, drag and drop the question type onto the canvas in the desired location. You may also double-click the question type tile to add the new question to the end of the page.
- Question Bank: Beside the Question Types tab, you may click on the Question Bank tab to review system default questions or your own custom questions. Add questions to the bank to save time when creating future projects. As with question type tiles, you can drag and drop these questions into the right location on your project canvas.
- Languages: To the right of the Question Bank tab, the Primary Language is listed. Click on the dropdown menu and click ‘Add a Language’ to, well, add a language! Choose your language, then add translations under Text & Translations
- Test Invite: Ready for review? Once your project is built, click the Test Invite icon to create a test invitation or test URL to collect feedback from your team members before launching.
- Quick Send: In a hurry? Once you’re totally set, click on the paper airplane icon to use this quick wizard to send your project. For full distribution options, move on to the Distribute module instead.
- Preview: The project canvas gives you a rough idea of your project’s appearance, but you can click on the Preview icon for a better look at how it will appear to participants.
Visual Settings
Beyond the content, be sure your survey project looks good and represents your brand and purpose well! Customize your options, then save templates based on your preferred style.
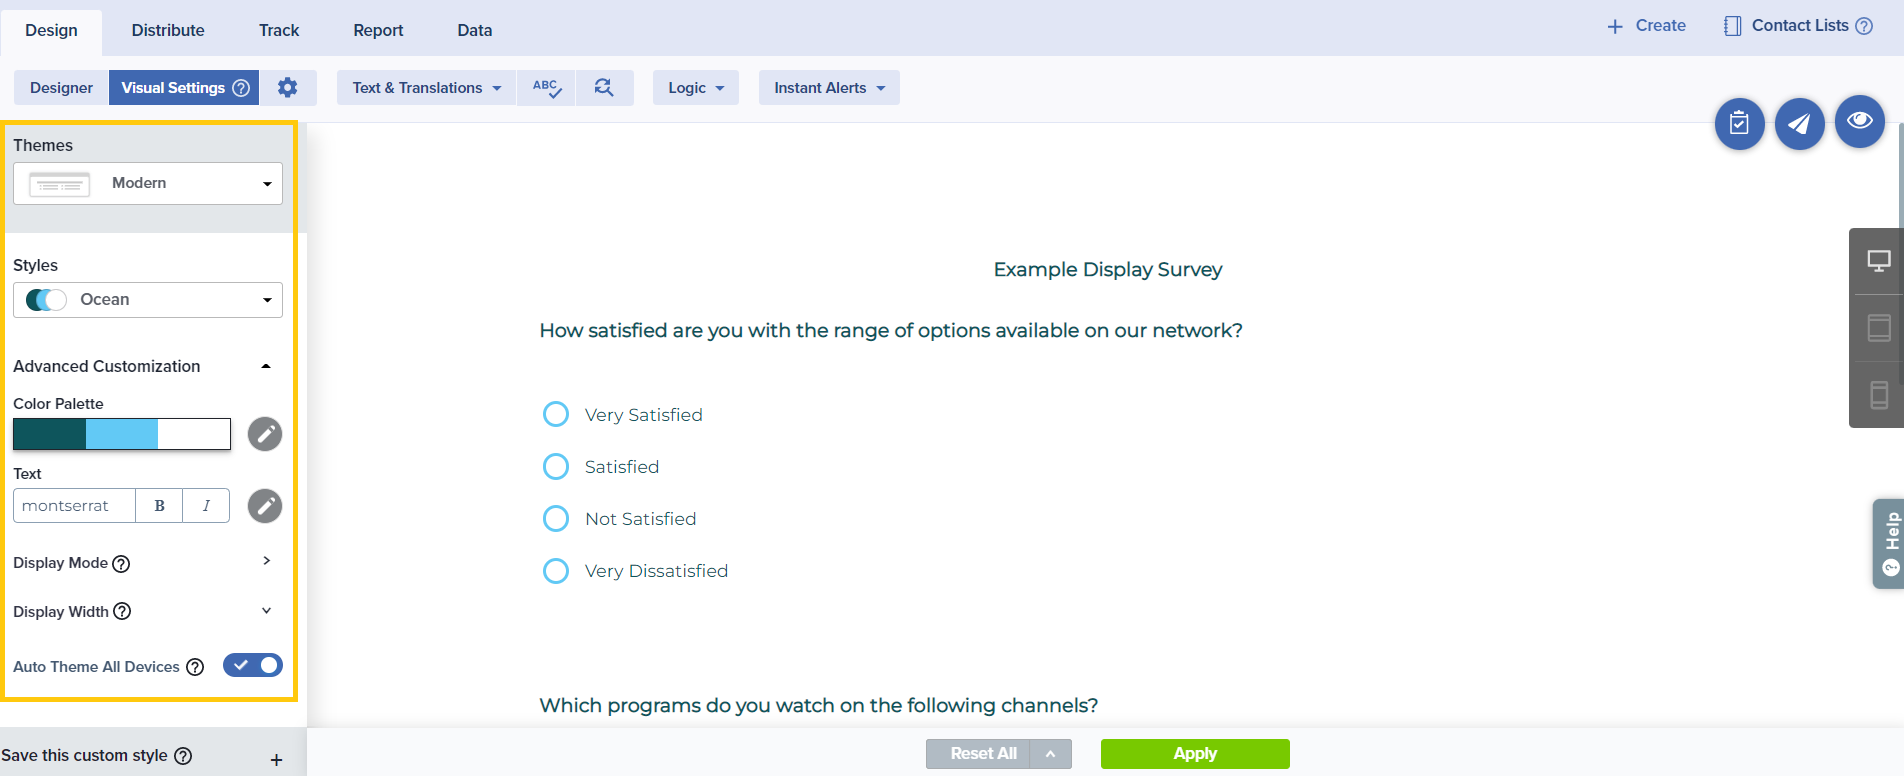
Here are a few of the available features that you’ll see:
- Themes: Choose from a variety of pre-set themes, then customize to your preference. You can also save templates to make customizing future projects fast and simple. Plus, modify the width to customize your display.
- Colors: Customize primary and secondary colors, as well as the background. Whether it’s a color, gradient, or default or custom image, your project has never looked so good! If you prefer, get specific with advanced color options for detailed project elements.
- Text: Your style shines through in every word with customized font settings! Keep it simple with overall settings or modify your choices for specific text elements.
- More: Choose whether to display the same style on both web and mobile, or to create separate settings for each.
Options
Behind every successful project, there’s more than meets the eye! Every project is assigned default settings, but this section allows you to modify numerous options to meet your needs.
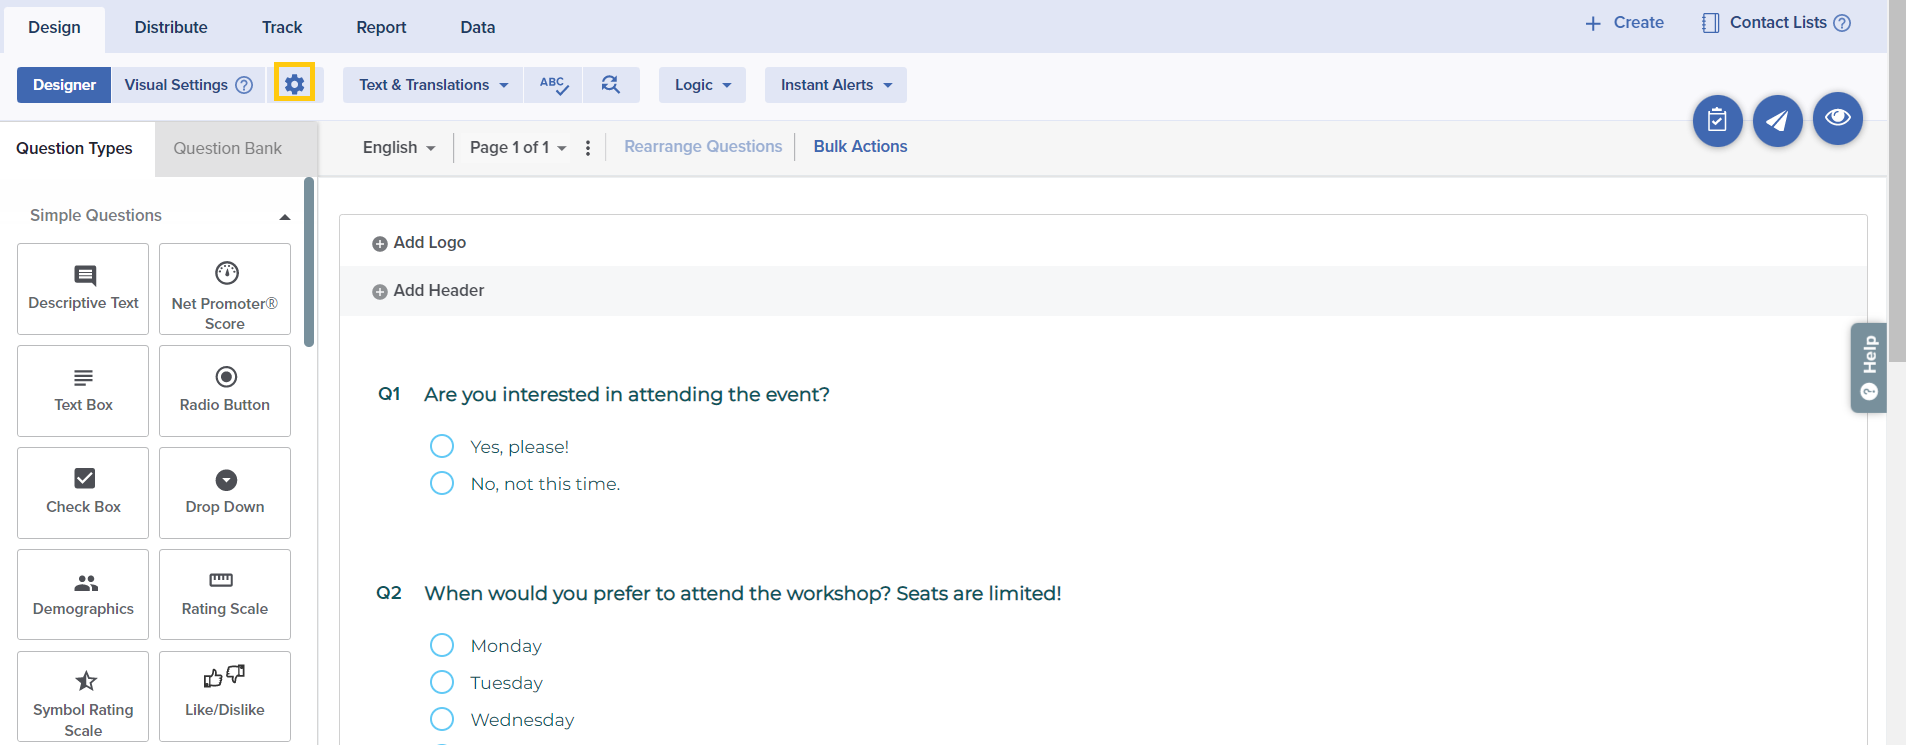
By exploring the options available here, you can customize your survey to ensure that it meets your unique requirements:
- Project Details: Make it easy to keep track of your projects with identifying information like project name and description.
- Language: Expand your audience by adding languages to create a multilingual project.
- Question Sequence: Choose the order in which questions are displayed to participants.
- Anonymity: Ensure total technical anonymity to protect participants’ identity. If enabled, you’ll collect data but never know who provided which responses.
- Display Options: Support your purpose and your participants’ experience by choosing whether to show page numbers, a progress bar, and more.
- Event Messages: Modify the default messages that appear in specific situations, like when participants access an expired project or a link that’s already been used.
- Save and Continue Later: Especially useful with longer projects, this feature lets participants save their answers and return later to complete the remaining responses, either through their original invitation link or through a personalized follow-up link.
- Thank You Page: Once the responses are submitted, you decide what participants see next! Provide a confirmation message, show results, allow participants to invite others, and/or redirect participants to a new URL.
- Print Options: Allow the participants to print a copy of their responses either before or after submitting their responses to the project.
- Expiry Rules: With your project, you can choose when to close it based on a specific date, threshold, or condition. This provides greater flexibility and control over the project timeline.
- Switch Project Type: : If you’ve realized that your project would work better as an assessment rather than a survey or vice versa, you can switch your project type.
- Enhanced Participation: Improve the participant experience with expanded functionality, smoother navigation, and faster load time. All participation links, past and future, will be updated.
Text and Translations
Words count! Be sure to review and polish all of your text before you launch – in every language you choose to include!
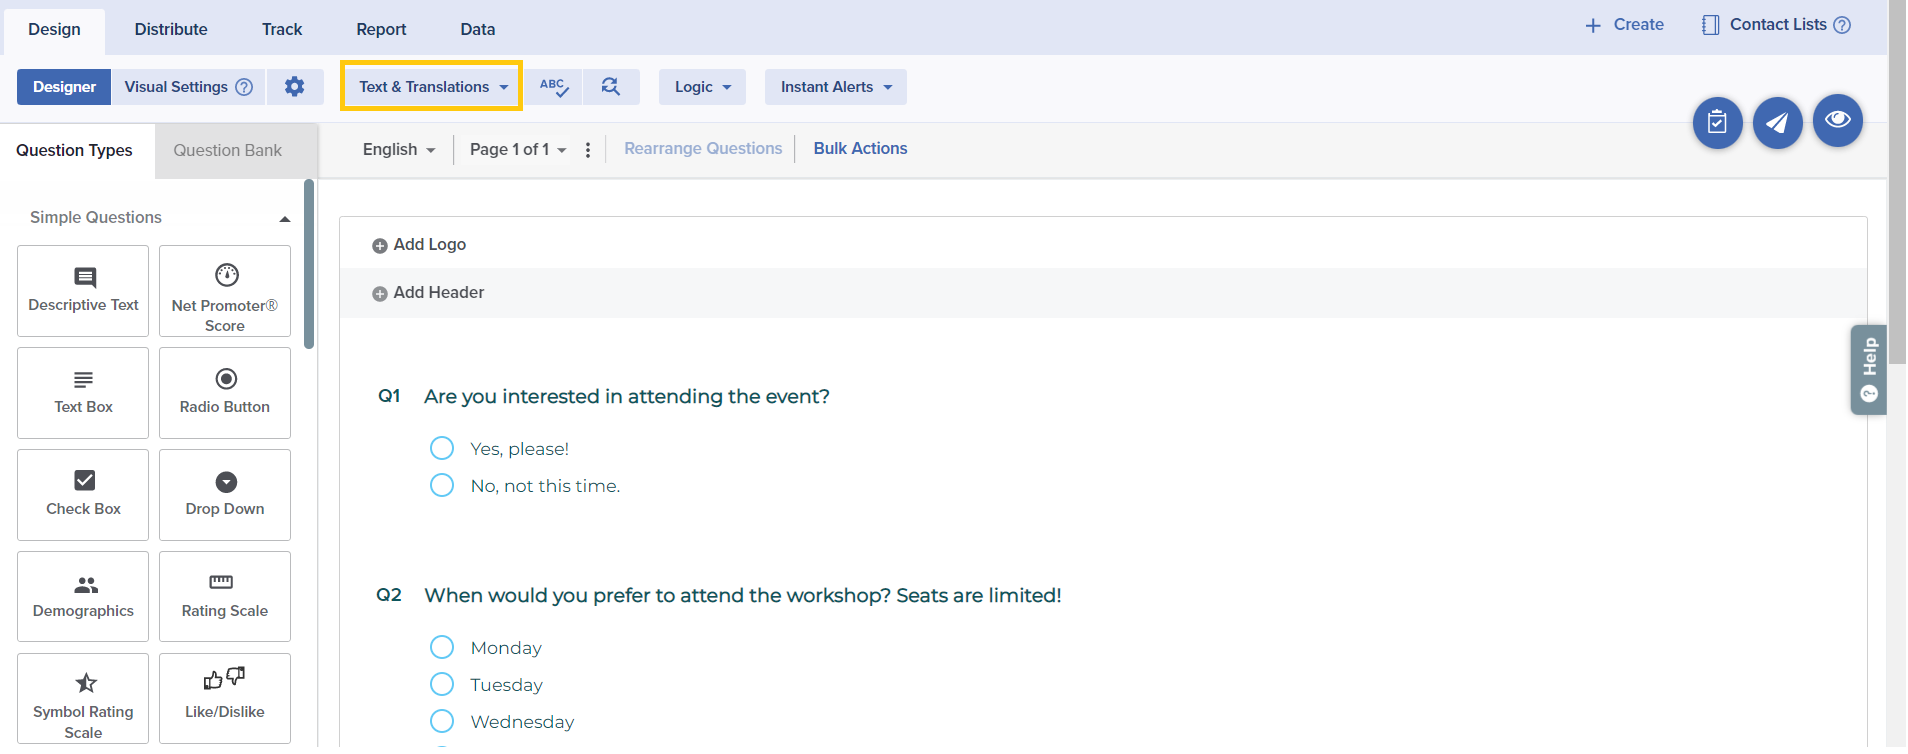
Here’s what you can choose to do:
- Text & Translations: Review and revise all of your project’s text and messages at once, as well as auto-translating and revising content in additional languages.
- Spell Check: It never hurts to check!
- Find and Replace: Quick fix? Save time by replacing incorrect or outdated language all at once!
Logic
Providing participants with a clear and logical path improves engagement and response rates. Since logic makes it easier to ask participants only relevant questions, data quality benefits as well.
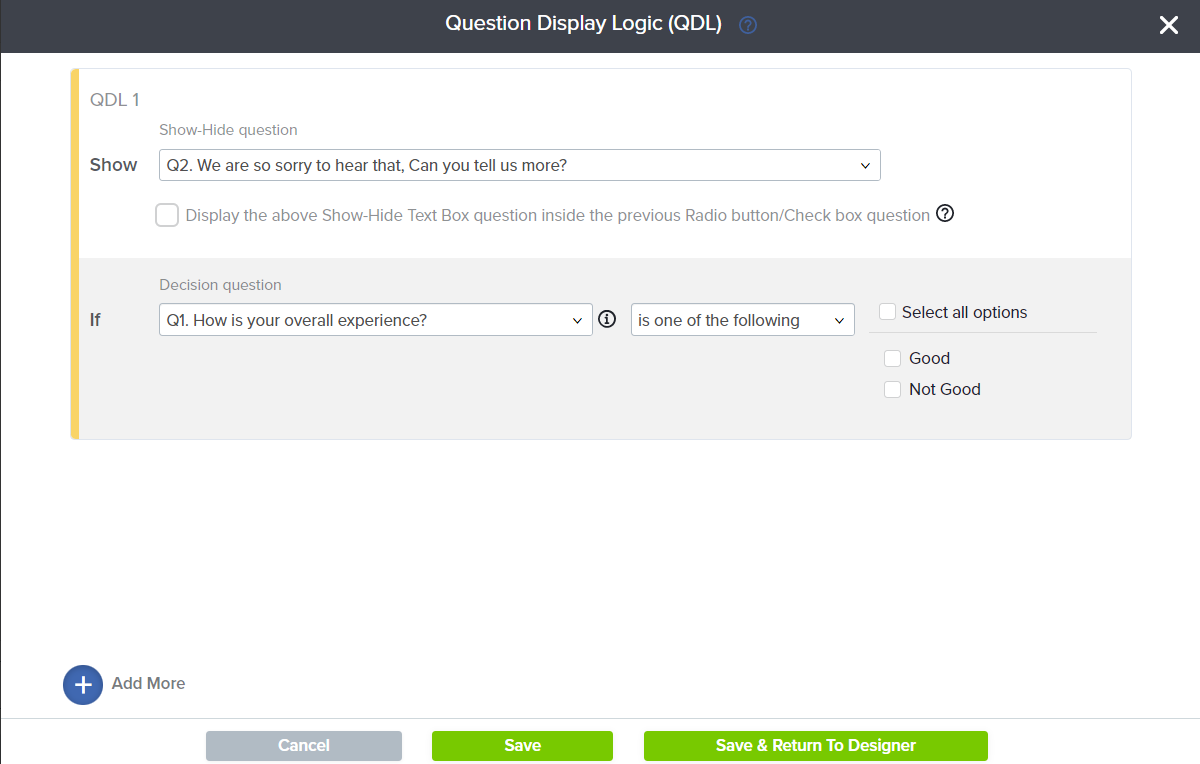
- Question Display Logic (QDL): Show or hide a follow-up question based on participant’s response to an earlier question.
- Answer Display Logic (ADL): Show or hide answer options based on the participant’s response to an earlier question.
- Single-Question Branching: Sets a participant’s path based on the answer to a single question.
- Multi-Question Branching: Sets a participant’s path based on answers to multiple questions.
Instant Alerts
Receieve faster feedback with automatic email follow-up to your participants, your team, or yourself!
- Instant Thanks: Send follow-up thank-you emails to your participants once they have participated in your projcet, including any important details like registration confirmation.
- Rules and Alerts: Send follow-up emails based on the triggers of your choice, like upon completion or a low (or high!) rating.
- Raise a Dialogue: If you have a SogoConnect account, you will see this option under Instant Alerts. Using this option, you can create dialogues when your participant’s responses meet certain conditions.
More
Use these tools to speed up your project design process.
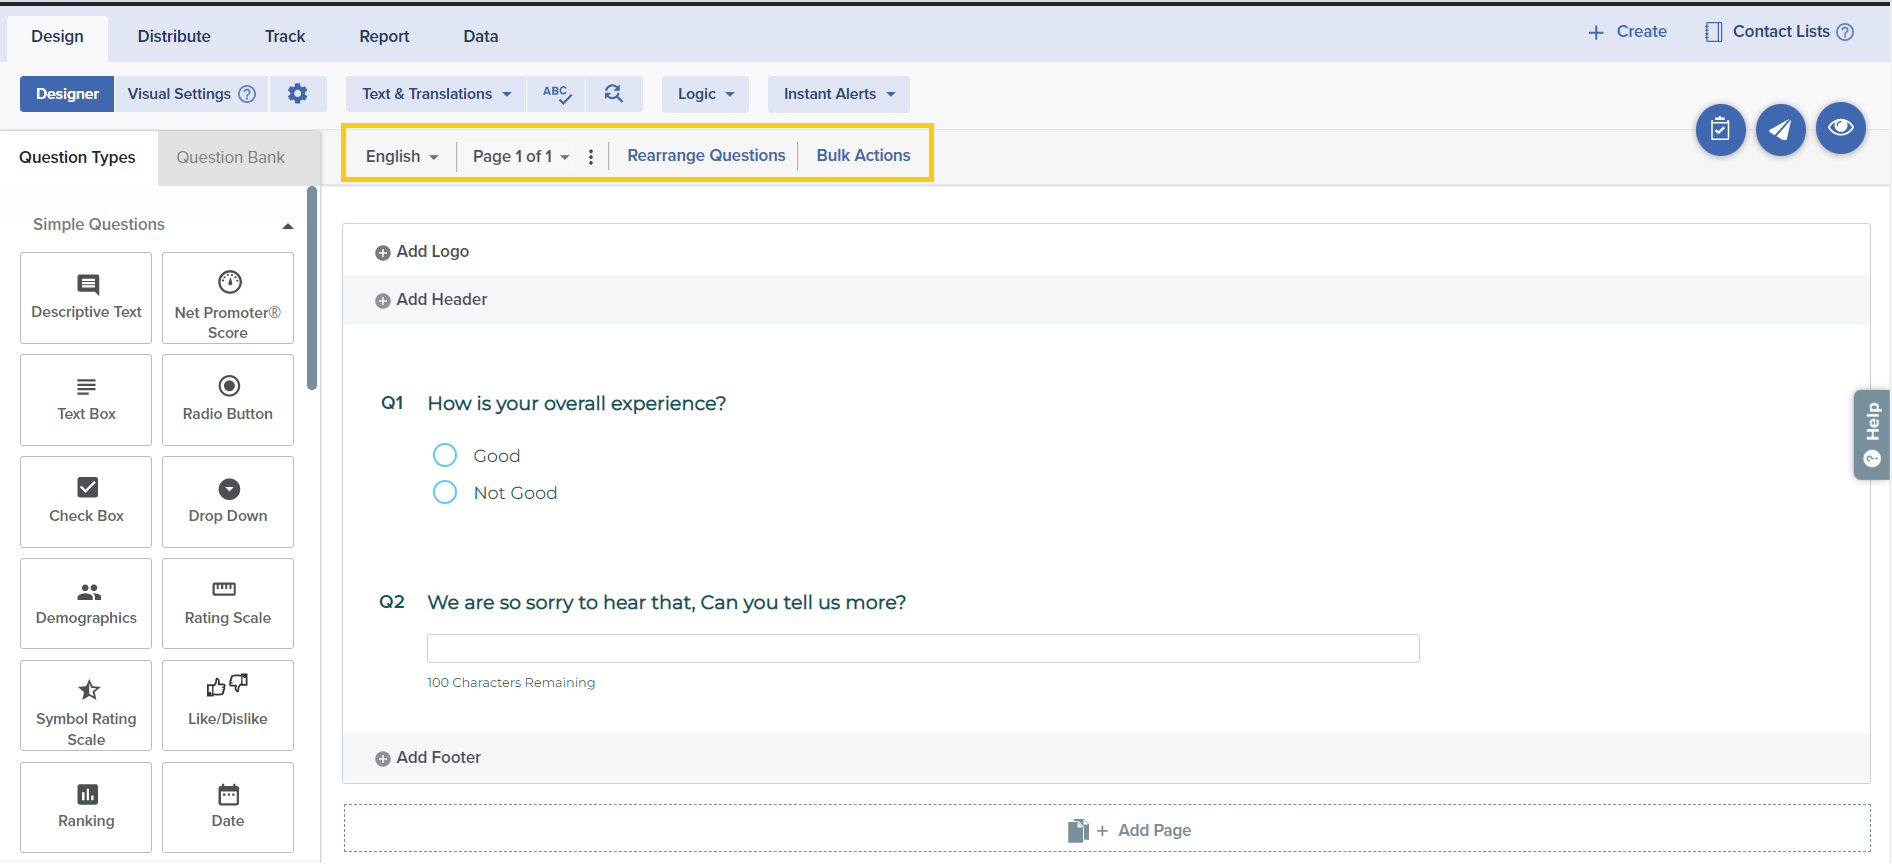
- Page Actions: Use the three dots next to the displayed Page number to take quick action on an entire page. You can even edit page names, delete or preview a selected page.
- Bulk Actions: : Use this feature to hide, copy, move, deposit to bank, set as mandatory or delete multiple questions at once.
- Rearrange Questions: Ensure your project’s flow is good to go with this smart feature. Add all of your questions, then arrange them into the right order. From there, add logic and other features to make the experience as smooth as possible!
Subscribe for tips and insights to drive better decisions!

