Adding Tags to Answer Options
If you’d like to slice your CX metrics and drivers into key segments for review, response-level Tags can be a huge help.
If you have multiple business locations and you’d like to better understand customers’ experiences at each site, use a response-level Tag for each answer in a location question. This will allow you to filter and segment responses by location across the CX Dashboard.
Here’s how you can set it up:
- Create or edit a CX project.
- Add a question that you’ll be able to use to differentiate responses, like location, department, or product type. (Remember that this might be a question you have to ask directly, but it could also be a question you can answer for your customer with Pre-Population!)
You can add response-level Tag to answers in Radio Button, Check Box, Drop Down, and List Box question types.
- Once you’ve added your answers, click on Tag Answers on the left menu.

- You’ll see your answers listed in a pop-up box and you can add one Tag to each answer option.

- Be sure to save your question.
- To add or modify Tags, hover over a question and click on the three-dot menu and click on Tag Answers.

Example: Response Tagging
Continuing the example above, response-level Tags can be used to make the most out of the organization’s results.

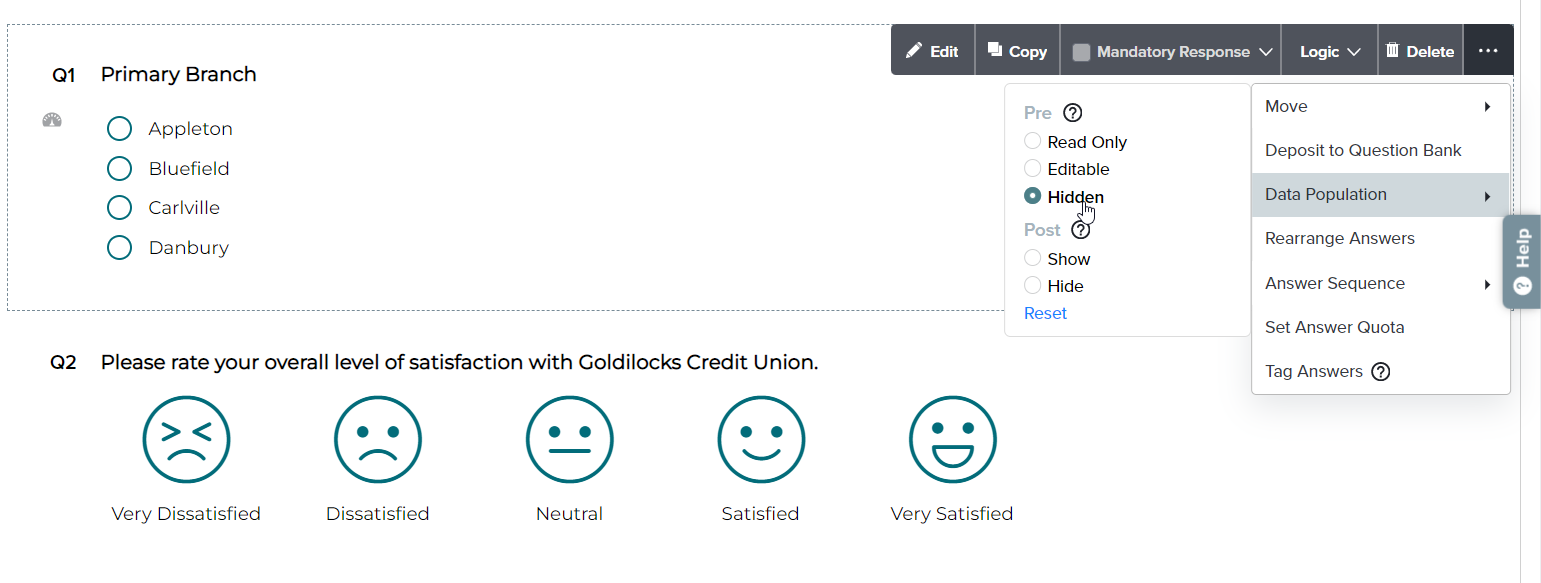
The organization sends single-use link email invitations to their customers includes a Hidden Pre-Populated location question along with a CSAT (Customer Satisfaction Score) question on their feedback survey.

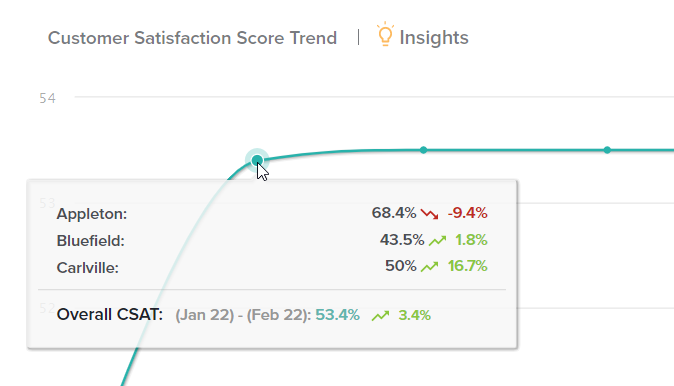
When the results start to come in, the team filters CSAT results by location in the CX Dashboard Overview tab.

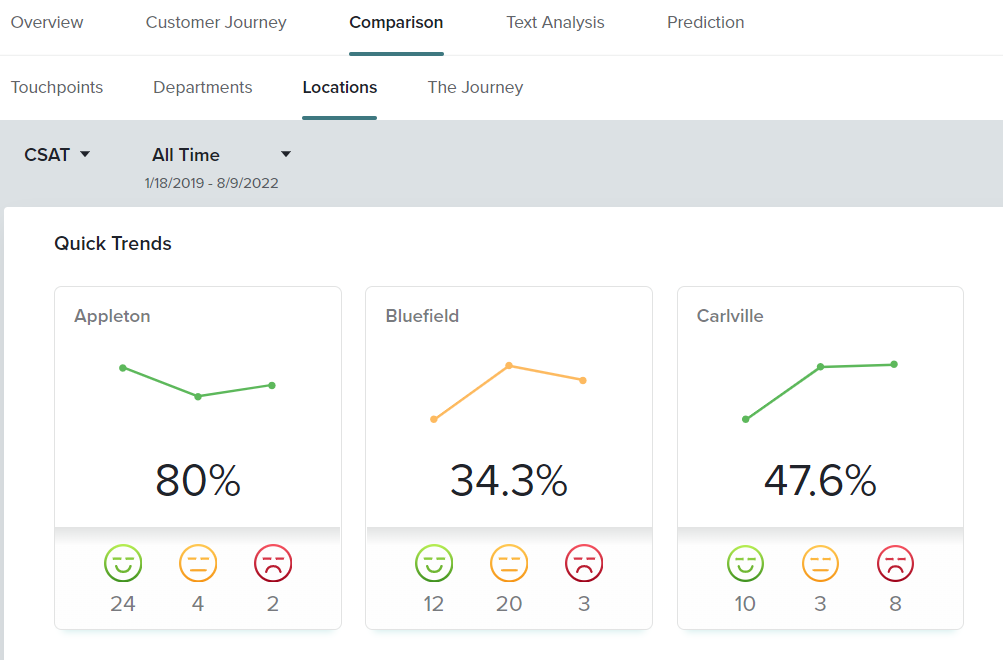
On the Comparison tab of the CX Dashboard, the team can review location ratings side by side.
Subscribe for tips and insights to drive better decisions!


