


Adding Users
Adding Users to support your Interest Areas can be completed either one-by-one or by uploading a spreadsheet of many team members at once.
Add a User Individually
- Click the Add User button.
- Fill out the Add User form with the necessary information.
- You may assign the User to an Interest Area by selecting the relevant check box(es). Select the key icon in front of the check box to further identify the User as the owner of the interest area. You may also assign the User to a User Group.
- The activation email and password can be sent to the user in this step. If you prefer, uncheck the box to send the activation email later. Please note: If you leave this box checked, the user will receive an activation email and have access to his or SogoConnect account.
- Remember to hit save at the top right-hand corner to save your changes!


Importing Users
- Click the Import User button to import new users.
- A sample template is available for download in Step 1 of the Import User Wizard.
- User lists need to be in an .xls or .xlsx file format.
- Following the Sample User Template, separate each user’s name, email, title, role, User Group, Interest Area, and Interest Area ownership by column. Multiple Interest Areas or Interest Area ownerships listed for a single user should be separated by a semicolon (;) within the same column.
- Browse for your list on your computer, select the file, and click next.
- In step 3 of the Import User wizard, you’ll see your Import User Summary, which will let you know how many Users were uploaded, and if there are any duplicates, or Users with blank values in their entry.
- If you’re happy with your Import User Summary, click Upload to upload the User list to SogoConnect.
- Remember to hit save at the top right-hand corner to save your changes!


Send Activation Email
When adding a User, a System Administrator can control when that User receives his or her username and password. Therefore, System Administrators can control when new Users can access their SogoConnect accounts.
To send an activation email immediately upon adding a user, a System Administrator may fill out the User’s information and leave the box next to “Send Activation email and password to user” checked.
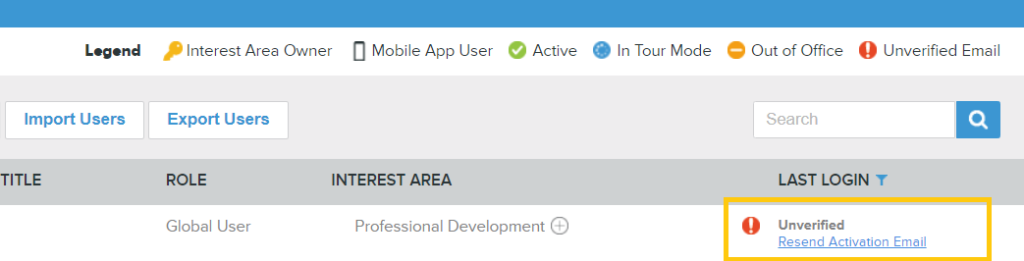
Under Settings > Users, any User who has not received an activation email is noted with a gray check icon under the Status column. Next to the icon, you (the System Administrator) will see a link to send activation emails individually.
To send a User or multiple Users an activation email with username and password, follow these steps:
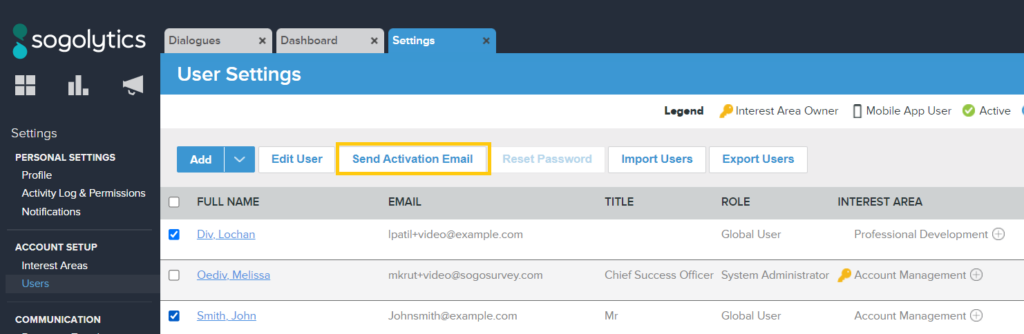
- Navigate to Settings.
- Click Users under Account Setup on the left-hand menu.
- Select one or more Users by clicking the checkbox next to the appropriate name(s).
- Click the Send Activation Email button to send the User(s) login information.
- Click the Save button in the top right-hand corner.
Subscribe for tips and insights to drive better decisions!

