


Editing Interest Areas & Categories
For System Administrators:
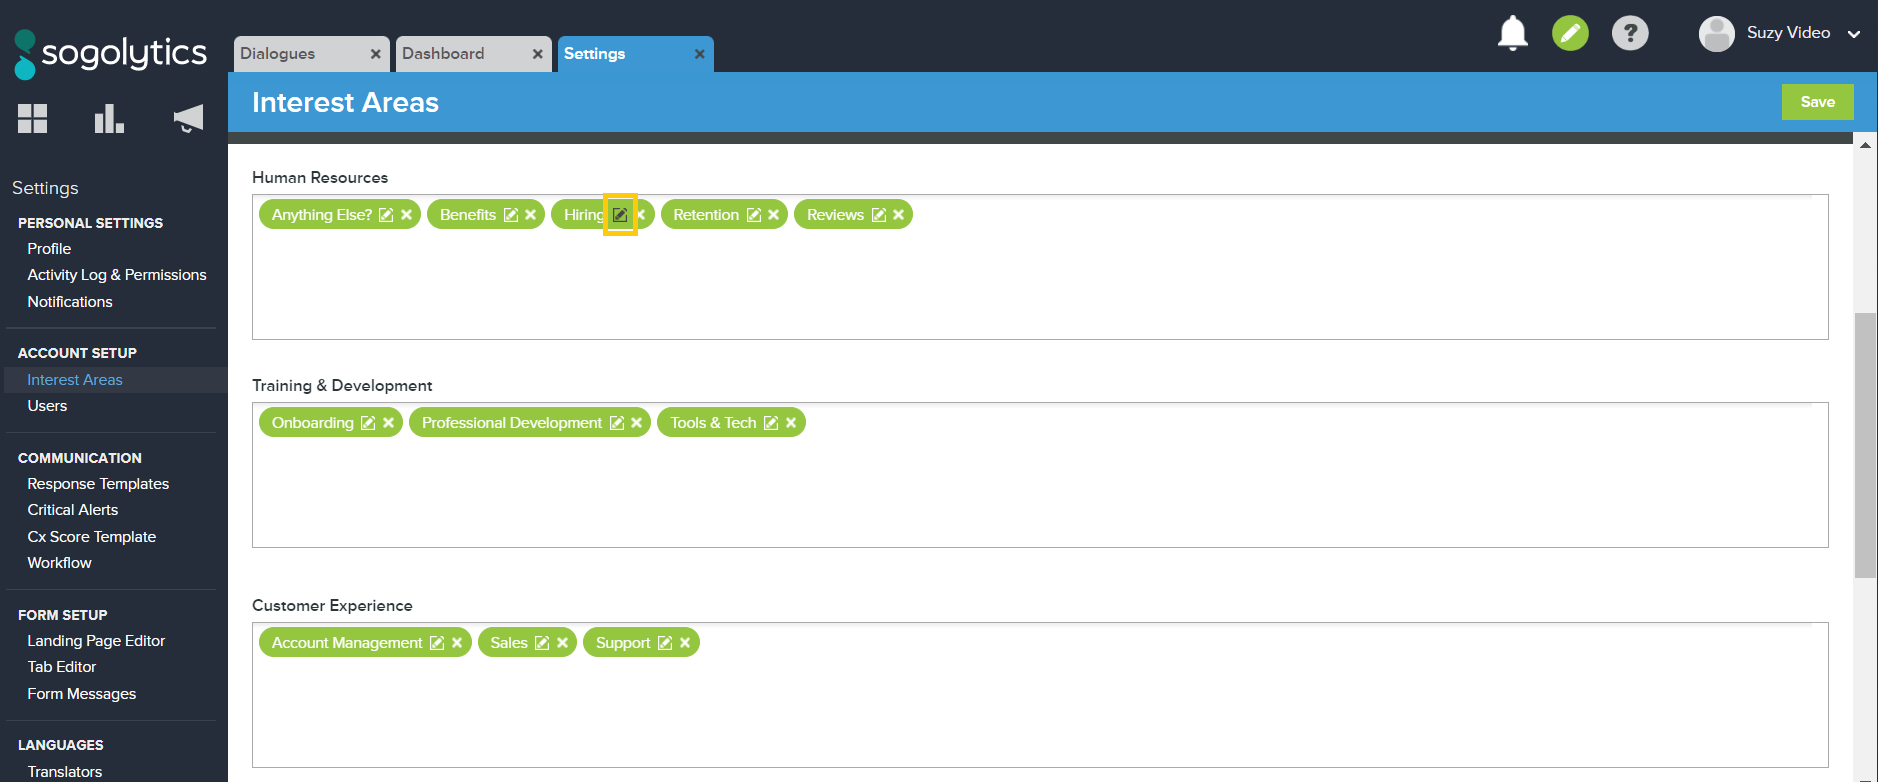
To edit your Interest Areas and Categories, click the green Edit button found in the top right-hand corner of the page.
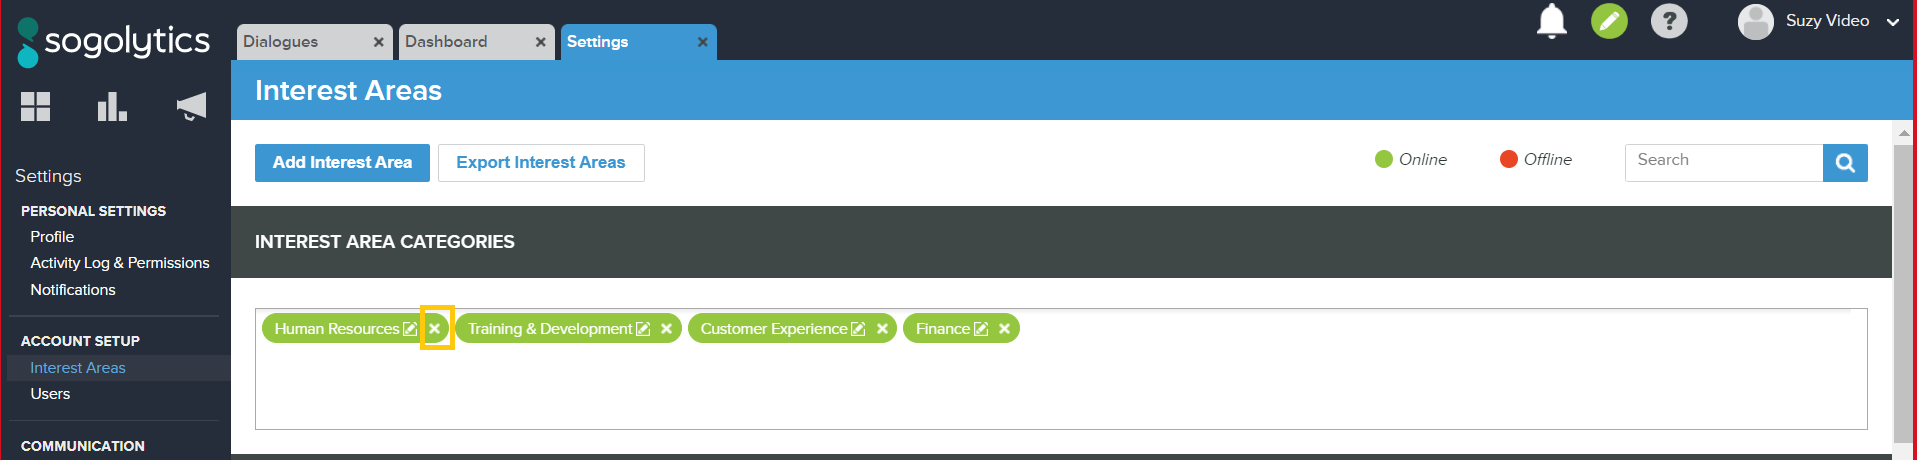
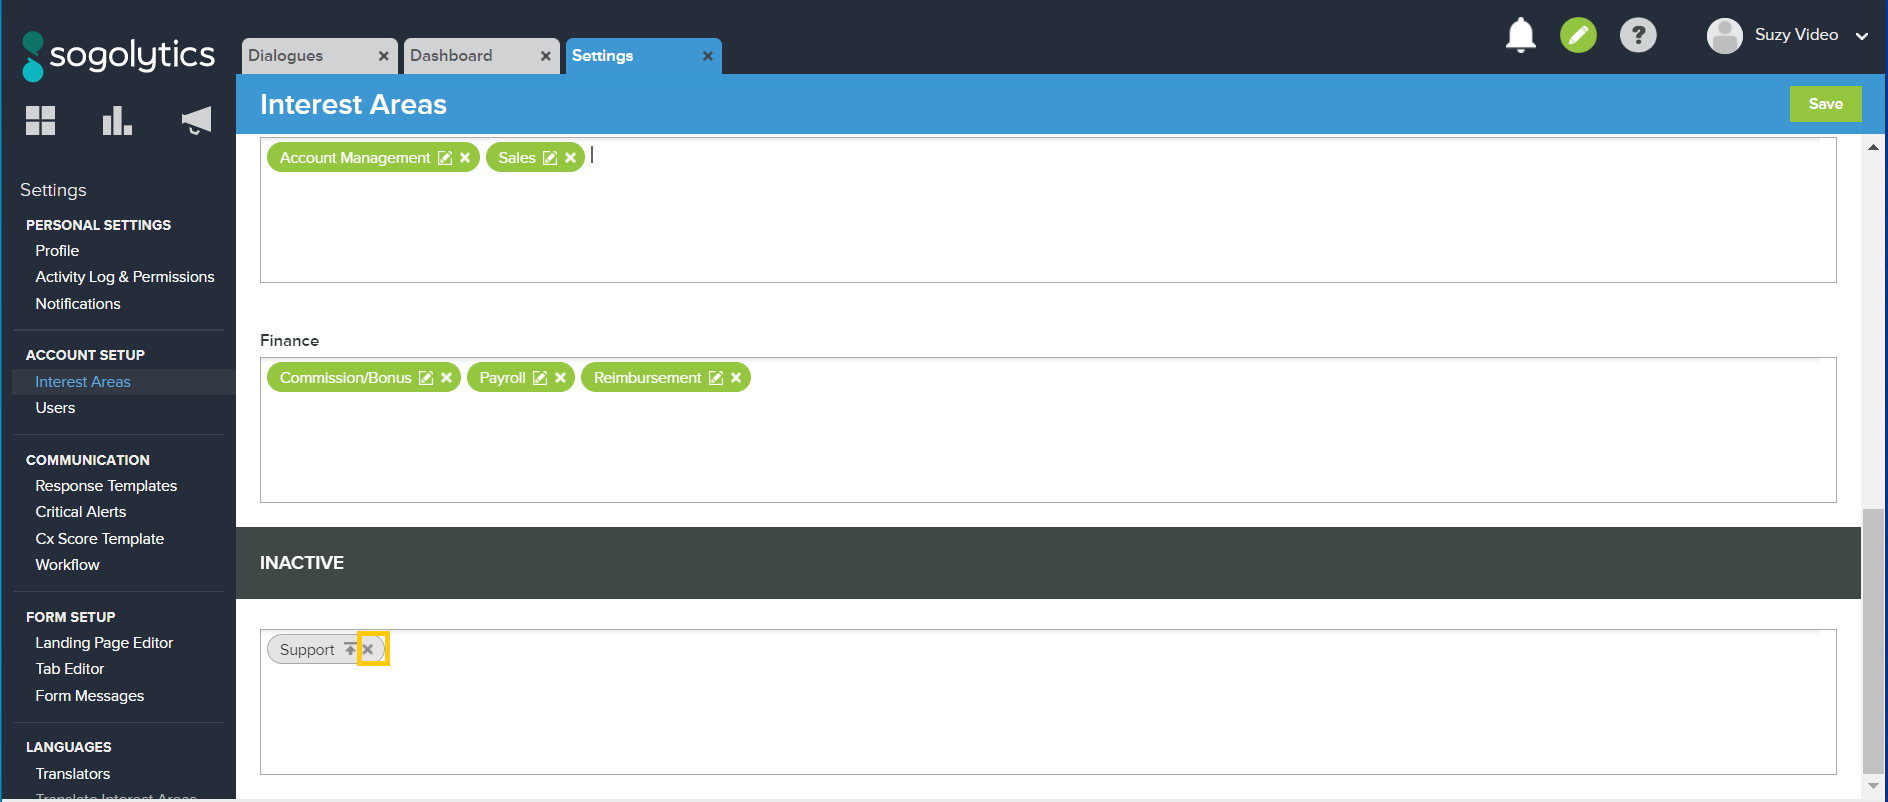
Deactivate: Click the X icon to the right of the Interest Area name or Category to remove it from the list. Inactive Interest Areas are moved to the Inactive section found at the bottom of the Interest Area setup page. Inactive Interest Area data is still loaded in the Dashboard graphs but the Interest Area will not appear to Customers on the landing page.
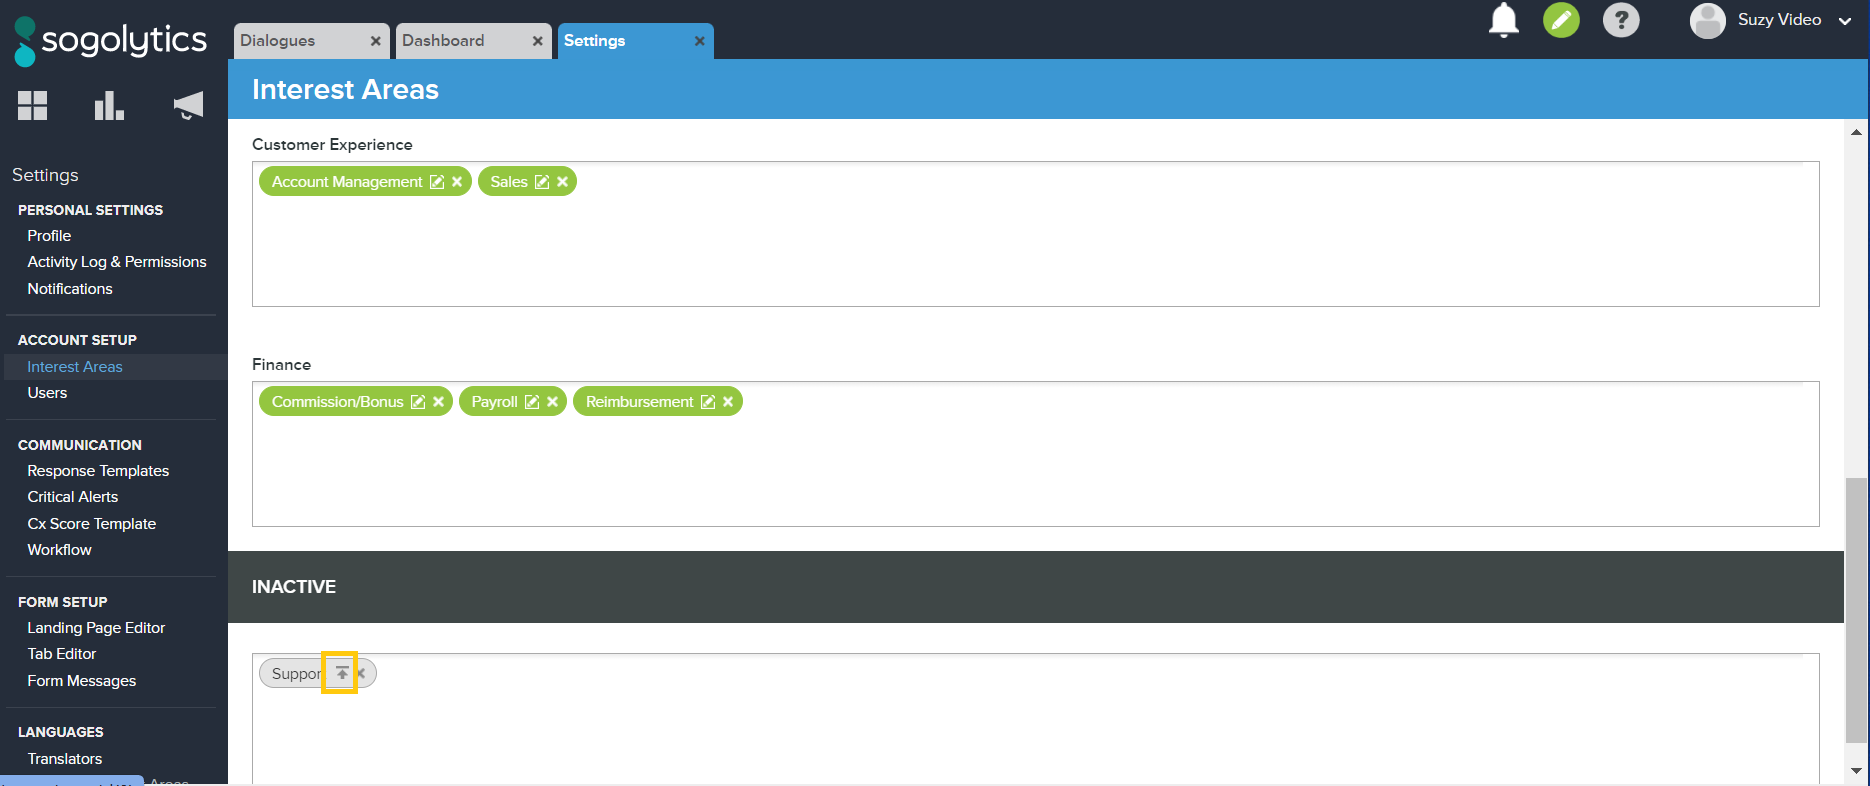
Activate: Click the up arrow icon to the right of the Interest Area name or Category to make it active. For Interest Areas, a prompt window will ask you to assign the Interest Area to a Category.
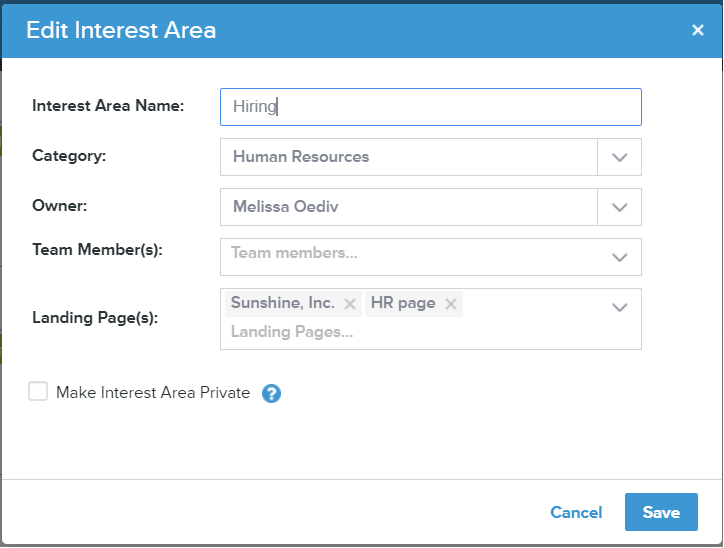
Edit: Click the Edit icon to the right of the Interest Area name to edit the Interest Area Category, team owner, team members, or Landing Page(s) where the Interest Area is published.
Delete: Within the Inactive box, click the X icon to the right of the Interest Area name or Category. This will permanently delete this Interest Area or Category. You cannot delete an Interest Area if it has existing Dialogues associated to it. To delete an Interest Areas with Dialogues assigned to it, you will need to reassign the Dialogues to another Interest Area.
Note: An Interest Area Category cannot be made inactive if it contains assigned Interest Areas. You must first remove the assigned Interest Areas before you can make the Category inactive.
Re-Order: Interest Areas and Categories can be re-ordered by simply dragging them within the text area. The order of Interest Areas and Categories found in Settings will be the order in which they are displayed on the Interest Area Form page.
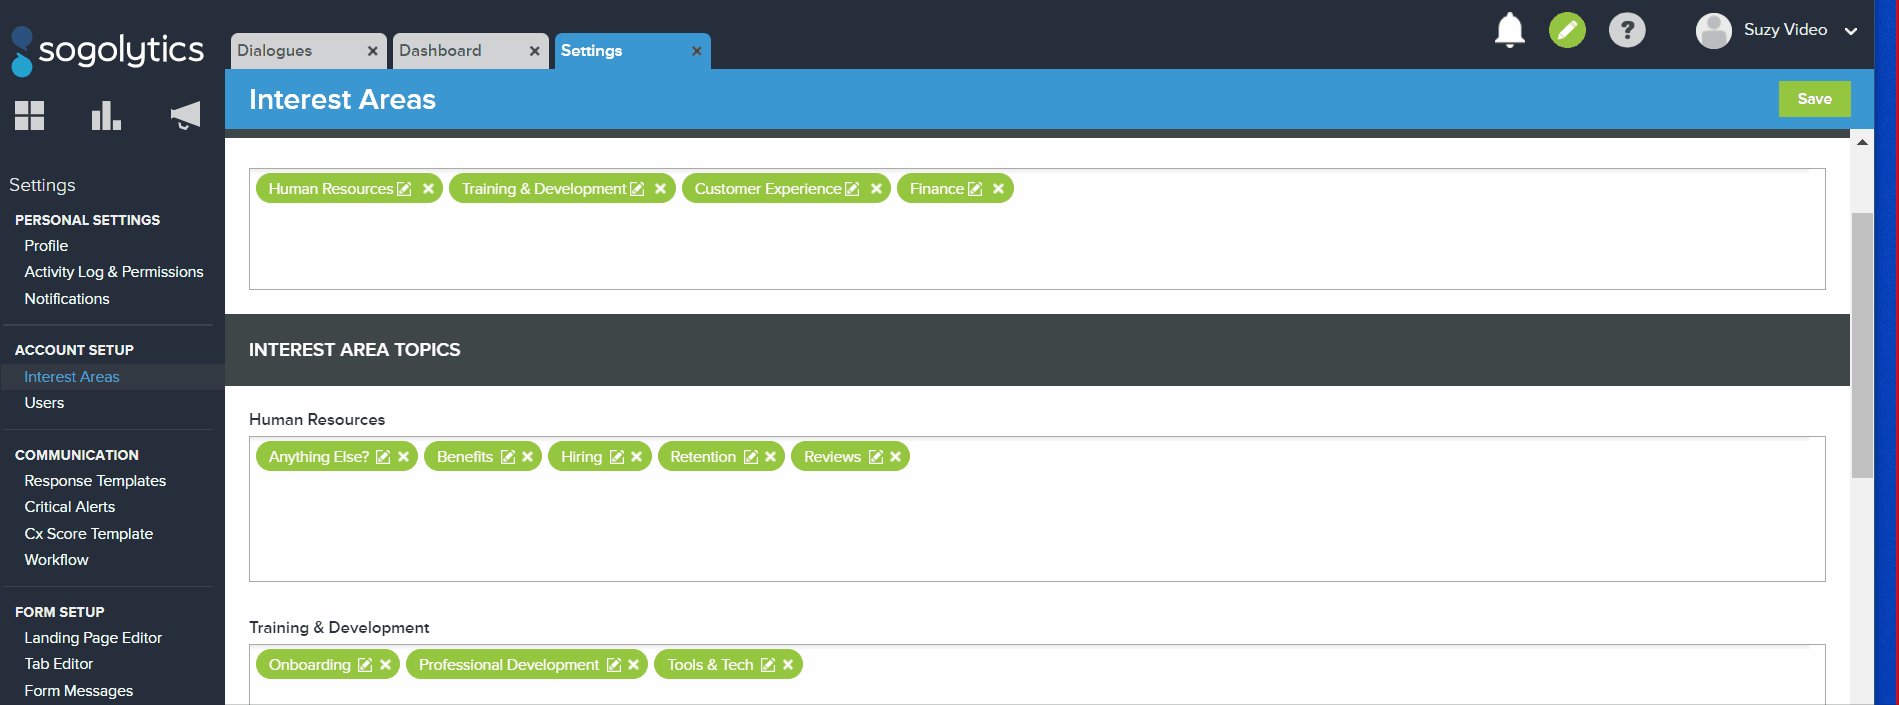
Re-Name: Double-click the text of the Interest Area or Category to edit the name text.
As you review your updates, remember that Interest Areas currently displayed live on a Landing Page will be shown in green. Those that are not currently live will be shown in red.
Once you have edited your Interest Area and Categories, click the green Save button found in the top-right hand corner of the page.
For Interest Area Owners:
As an Interest Area Owner, you have the ability to edit your Interest Area’s Team Members. This option is available under your Settings by clicking on Users.
From the Users page, you’ll see a complete list of those who currently have access to the Interest Areas you own. Remember, System Administrators and Global Users have access to all Interest Areas, so they are automatically included on the list.
From there, you may include more users through Add New Users. You may also update some User settings or remove certain Users from your Interest Area through Edit User.
Subscribe for tips and insights to drive better decisions!

