


Organizing Projects in Folders
Folders are a great way to keep your project organized. Sogolytics starts the organization for you, but only you know the system that will work best for you!
Navigate to
- Access Folders
- Add Folders
- Add Sub-Folders/Nested Folders
- Edit Folders
- Delete Folders
- Drag and Drop
- Move Projects from one folder to another
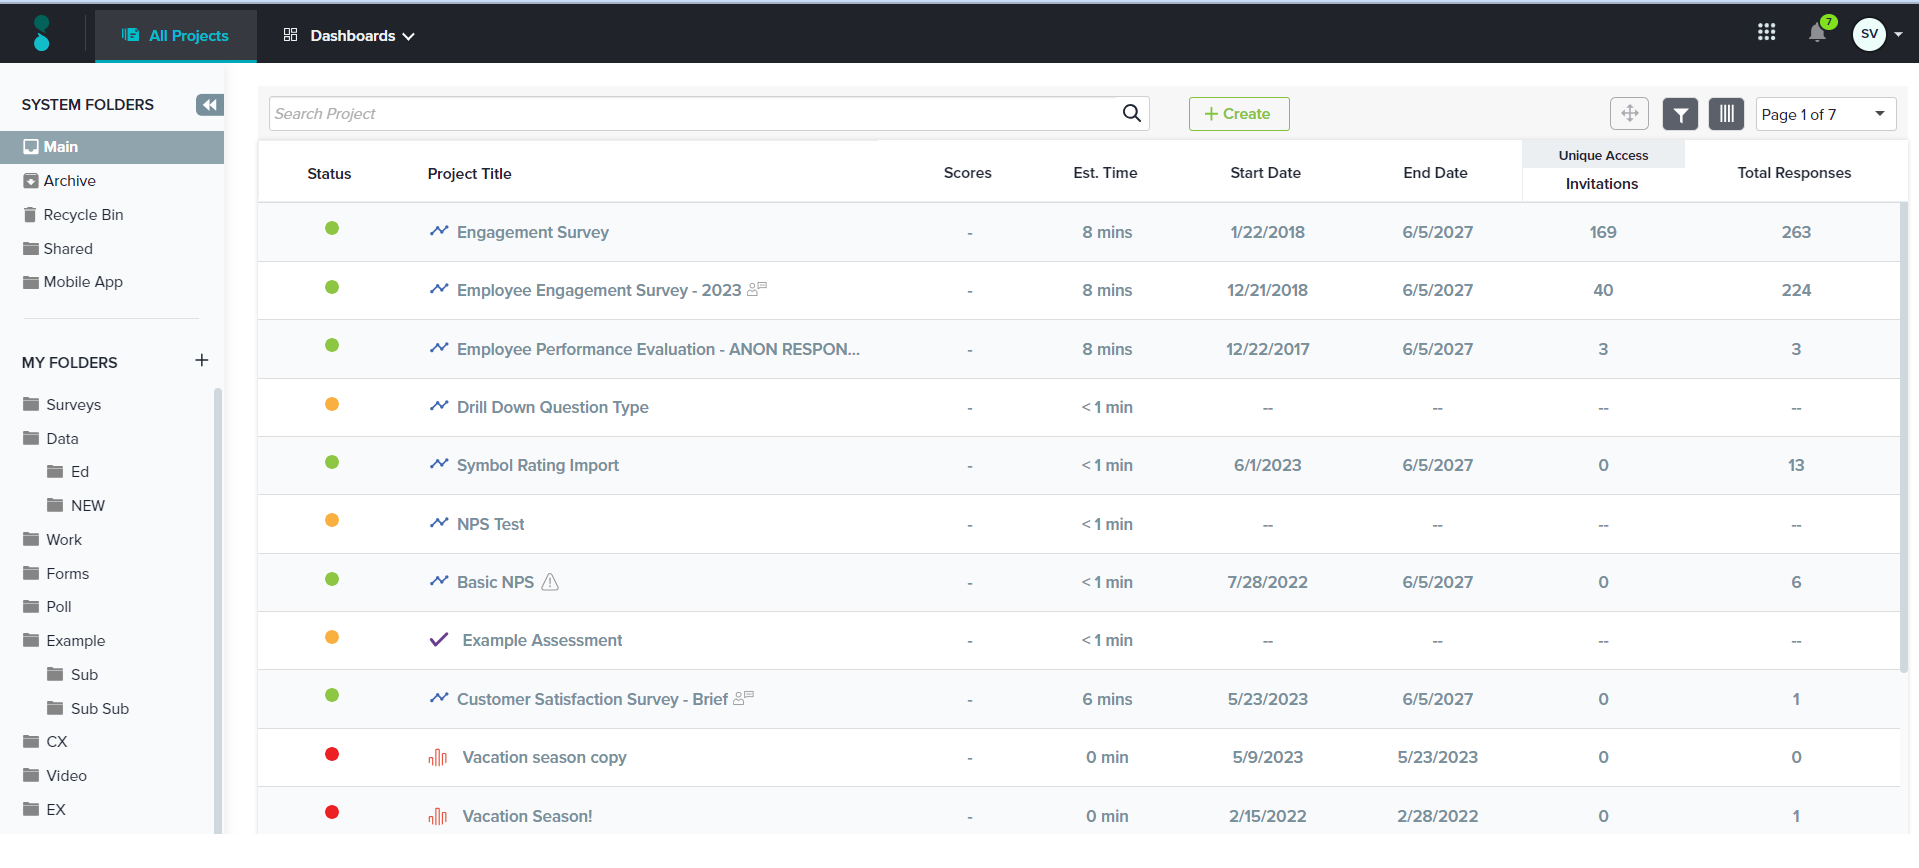
By default, your account has five System-defined folders (Main, Archive, Recycle Bin, Shared, Mobile App) that are designed around functionality.
You’ll find any surveys created in our mobile application in the Mobile App folder.
Additionally, you may create user-defined folders, which will be displayed under the ‘My Folders’ section on the left-hand side of the screen.
Access Folders
Click on the All Projects option on the left Panel of the screen. Select View All Projects at the bottom of the list. Here, you’ll find folders on the left side of the All Projects page.
Add Folders
Create a new folder while you’re starting a new project or within All Projects.
From All Projects:
- Click on the All Projects option on the left Panel of the screen. Select View All Projects at the bottom of the list.
- Next to MY FOLDERS on the left, click on the +.
- Enter a name for your folder.
- Click the check to Save.
While creating your project:
- Once you’ve chosen to start from scratch or by copying another survey template, click Continue.
- Next, name your project.

- Choose to add your project to a folder from the dropdown list or a new folder.

- Your survey will be saved in the selected folder.
Up to 50 customized folders can be added to your account.
Add Sub-Folders/Nested Folders
- Click on the All Projects option on the left Panel of the screen. Select View All Projects at the bottom of the list. Then, navigate to MY FOLDERS and hover over your chosen folder.
- Click on the + icon to the right of the folder name.
- Enter the name of the new sub-folder.
- Click the check to Save.

Edit Folders
- Click on the All Projects option on the left Panel of the screen. Select View All Projects at the bottom of the list. Then, navigate to MY FOLDERS and hover over any folder.
- Click on the pencil icon to edit.
- Make the desired change.
- Click the check to Save.

Delete Folders
- Click on the All Projects option on the left Panel of the screen. Select View All Projects at the bottom of the list. Then, navigate to MY FOLDERS and hover over any folder.
- Click on the trash icon to delete.
- Click OK to confirm.

You can only delete an empty folder. If the folder you try to delete is not empty, you will be notified.
Drag and Drop
You can rearrange folders by dragging and dropping them into your preferred order.

Move Projects from one folder to another
- Within All Projects, hover over a project title and check the displayed box.
- As needed, select multiple projects at once.
- Click the Move icon in the top right corner and select the destination folder.

Subscribe for tips and insights to drive better decisions!

